
Every child loves to climb. I wanted to ensure that our twins have a safe and dedicated area for them to explore their desire to climb. In hopes of helping them not feel compelled to climb on things they should not and endanger themselves. Enter the Pikler Triangle!
Let’s Build
Tools
- Saw
- Drill
- Band/Jig Saw
- Compass
- Large Clamps
- 1″ Forstner drill Bit
- 1/2″ Drill Bit
- 1/4″ Drill Bit
Materials
- Lumber (Red Oak/Poplar/Birch)
- Red Oak
- Poplar Dowels
- Rope
- Sand Paper
- Glue
- Finish
- Beeswax & Olive Oil
- Danish Oil
- Polyurethane
| Quantity | Dimension | Purpose |
| 4 | 3” Wide x ¾” Thickness by 43” Long | Legs |
| 12 | 1″ Dowel by 48″ Long | Ladder Rungs |
| 1 | 1″ Dowel by 52″ Long | Axle |
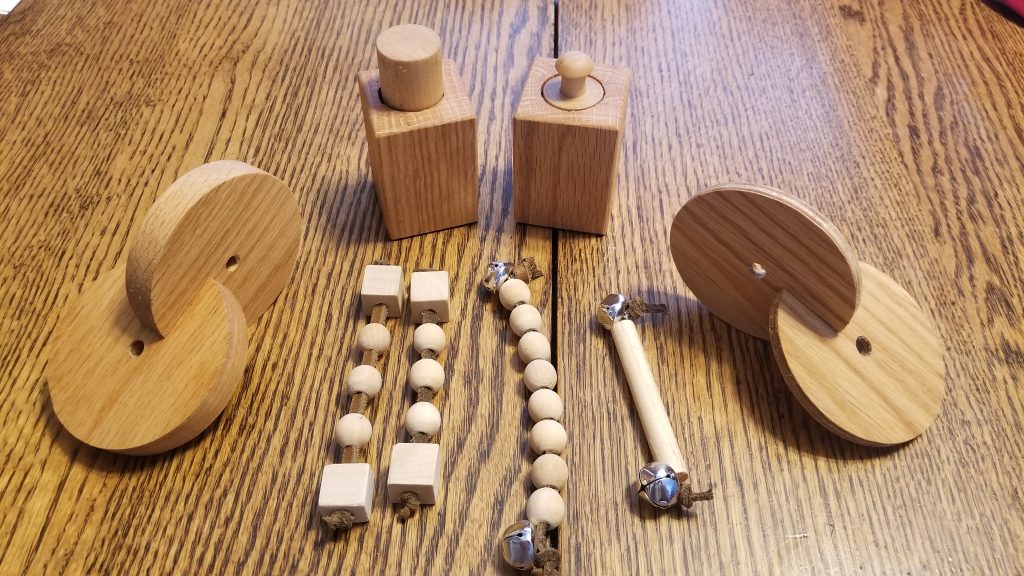
Build Legs

- Cut out 4 legs to dimensions.
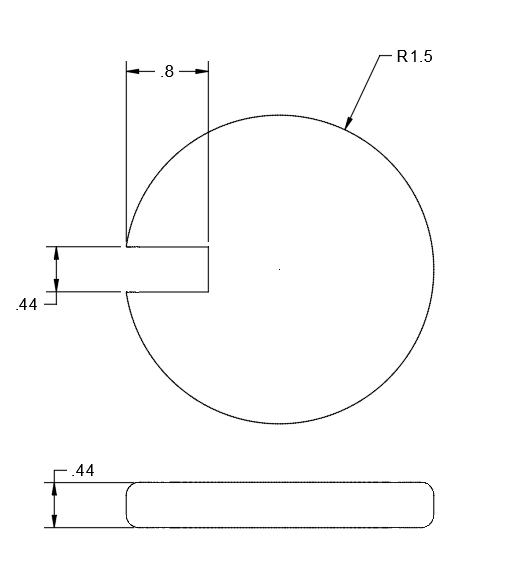
- Use jigsaw or bandsaw to cut radius on all 8 ends to create a smooth end on each leg
- Mark out each hole for each rung and verify proper location so that each hole matches its mirror leg piece
- Drill the axle/top run hole completely through using the 1” Forstner Bit.
- Note: These are the only 4 holes that go through the wood completely.
- Use the 1” Forstner bit to drill all 24 holes ½” deep for each ladder rung.
- Note: Make sure not to go too far as your bit may drill too deep.
- Sand and make sure to round over any sharp edges.
- Finish as desired
- Note: Make sure not to apply finish to the inside of each hole. The finish can weaken the glue bond when you install the rungs.
Cut and Assemble Rungs
- Cut all ladder rungs and the axle/top rung to length.
- Tip: Round over each end of each rung to make it easier to align and insert into the corresponding hole on each leg during assembly.
- Apply glue to six ends of the ladder rungs.
- Note: Do not apply glue to the top axle/rung
- Apply glue to the corresponding 6 holes on a single leg.
- Insert the glued ends of 6 rungs into the first leg.
- Apply glue to the opposite rung ends for the other half of the exposed rungs.
- Apply glue to a mirror leg piece for its corresponding 6 holes.
- Align and insert each rung into the correct corresponding leg holes.
- Tip: Use clamps to assist you with aligning and inserting the rungs into the second leg.
- Clamp and clean up any glue that is pressed out.
- Repeat for second ladder.
Final Assembly
- Align the two ladders so that the axle/top rung holes align and insert the axle/top rung.
- Drill a ¼” hole on each end and insert & glue ¼” dowel plug to ensure that the two ladders stay on the axle.
- Drill a ½” hole centered between the 4th and 5th ladder run on each leg. This will be where we insert the rope
- Cut the rope in half to about 30” and insert through each hole
- Adjust the triangle to the desired angle. Ensuring that the triangle is shallow enough to ensure the triangle is stable enough for children to climb and is not too steep.
- Tie a stop knot on each end of the rope tight enough so the knots cannot come untied. This can be adjusted later to adjust the desired angle of the triangle.
- Your triangle is complete.
Want to support us?
We offer detailed plans in our store today, plans also include instructions on how to build a ramp and climbing wall.
Detailed Plans are also available
Our Own Shop
Our Etsy Shop

Some products displayed may earn us a commission. Learn More?


Recent Comments